Background Editing - A Variety of Methods

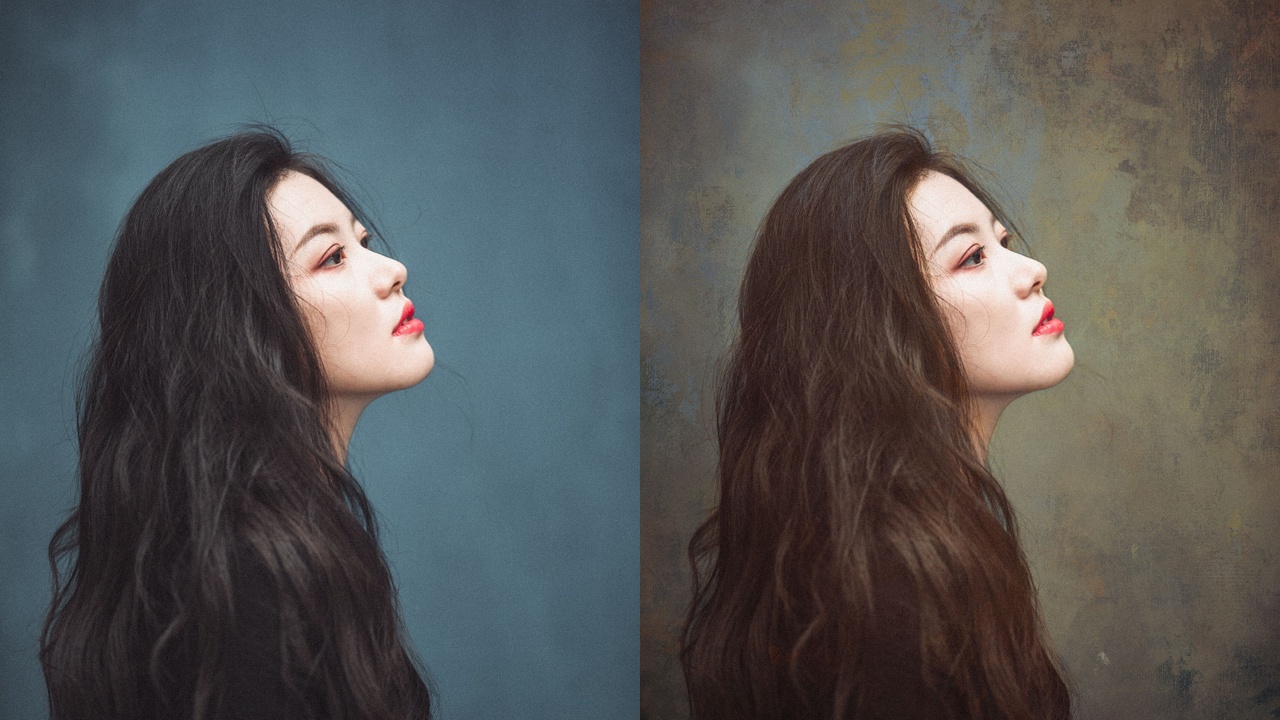
In this post I will be referencing two softwares: Adobe Photoshop CC 2022 (mostly compatible with earlier versions of Photoshop), and Corel Painter 2021 (compatible with Corel Painter 2020 and newer in regards to the "texture" palette). The below portrait examples are photographic edits. They haven't been painted.
(Seen here with the Summer Gold 0505 set to Soft Light over the original file plus the original edit masked over top to bring back the face).
Backgrounds.
You've bought them. Now what?
Let me tell you. SO, SO, SO, SOOOOOOOOOOO many options. It's that age old answer, "depends..."
Depends on whether or not the subject was photographed indoors, outdoors, controlled light, natural light, clothing choice, how much texture do you want on the skin, how much texture do you want in the large spaces, etc. I could go on and on and on about this in an entire webinar.
Backgrounds are not simply limited to a drop in as a green screen replacement. Nope. That's the beauty of thes...
How to Use the ALLA PRIMA Textures!

One Incredible HACK to Using the Alla Prima Textures!
Do you remember the clipping masks in Photoshop? This hack is sort of like that.
There are three components.
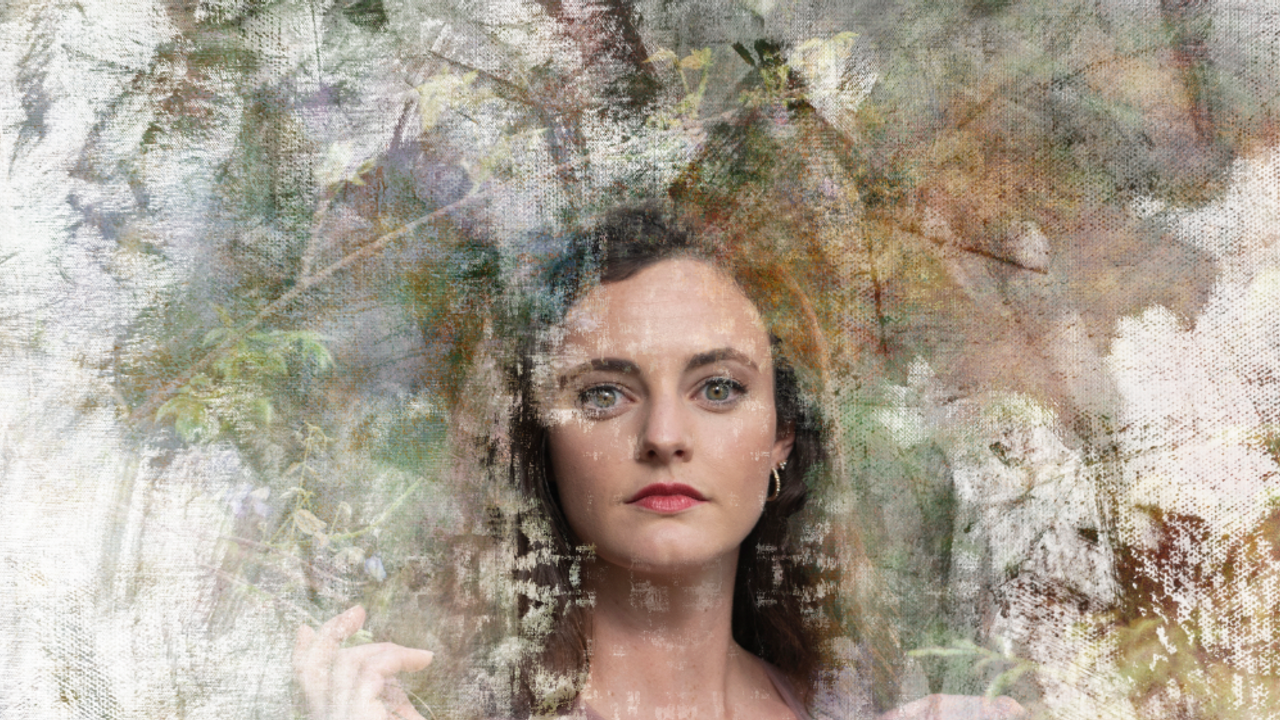
- A retouched image
- A colorful, painted, full bleed texture
- A monochromatic, contrasty, brushed topper like the Alla Prima ll textures (or veil, which would be harder to use here)
Number one will be your bottom layer in Adobe Photoshop. 2, the second layer, and 3, the top layer.
Set layer 2 to Hard Light (or whatever works best with your image) under layer mode.
Set Layer 3 to Screen.
MAGIC!
I didn't even take this through Corel Painter! It would be a fabulous prep file, but as is it's ready to print!
More in depth
I gently retouched my image first in Adobe Photoshop CC 2022 using a Wacom Intuos Pro medium tablet and basic tools (healing brush, stamp, etc). The beauty of controlling outdoor light with a strobe typically means less retouching is required. I'm working in Adobe RGB 1998 in a 16 bit file as it's ...
